
今回は、
- TensorFlowを使うならKerasがイイヨ!とどこかで読んだ
- KerasがTensorFlowに統合されたみたいだけどサンプルコードが見つからない
というあなたに送る、TensorFlowに統合されたKerasを使ってみようという記事です。
import文が引っかかるところですが、それ以外はほとんど困らないと思います。では、行ってみましょう!
TensorFlowに統合されたKerasを使うことで、機械学習のハードルがぐっと下がる一方で、「自分一人で試すのは少し不安…」と感じる方もいるかもしれません。そんなあなたには、生成AIとWeb制作を組み合わせた新しいスキルを学び、収入を得るための環境が整っています。この機会に、AIがもたらす未来の可能性を掴み取りましょう。
本セミナーでは、すぐに実践できる具体的なノウハウを凝縮してお伝えします。AIを活用して収益を上げるためのロードマップや、Web制作とAIの相性の良さを活かした収益化の方法を学べます。独学で挫折してしまった方でも、確実にスキルを習得できる環境を提供しています。
少しでも興味がある方は、まずはセミナーの詳細をみて、自分に合った方法を探してみませんか?
TensorFlowとは
TensorFloは、機械学習や深層学習のプログラムを実装する際に使用できるライブラリです。
TensorFlowとは何か?については、以下の記事で説明していますので、よく分からない方は確認してみてくださいね。もちろん、インストールについても触れられていますので、安心してください!

Kerasとは
Kerasは、バックエンドにTensorFlowを利用できる深層学習ライブラリです。
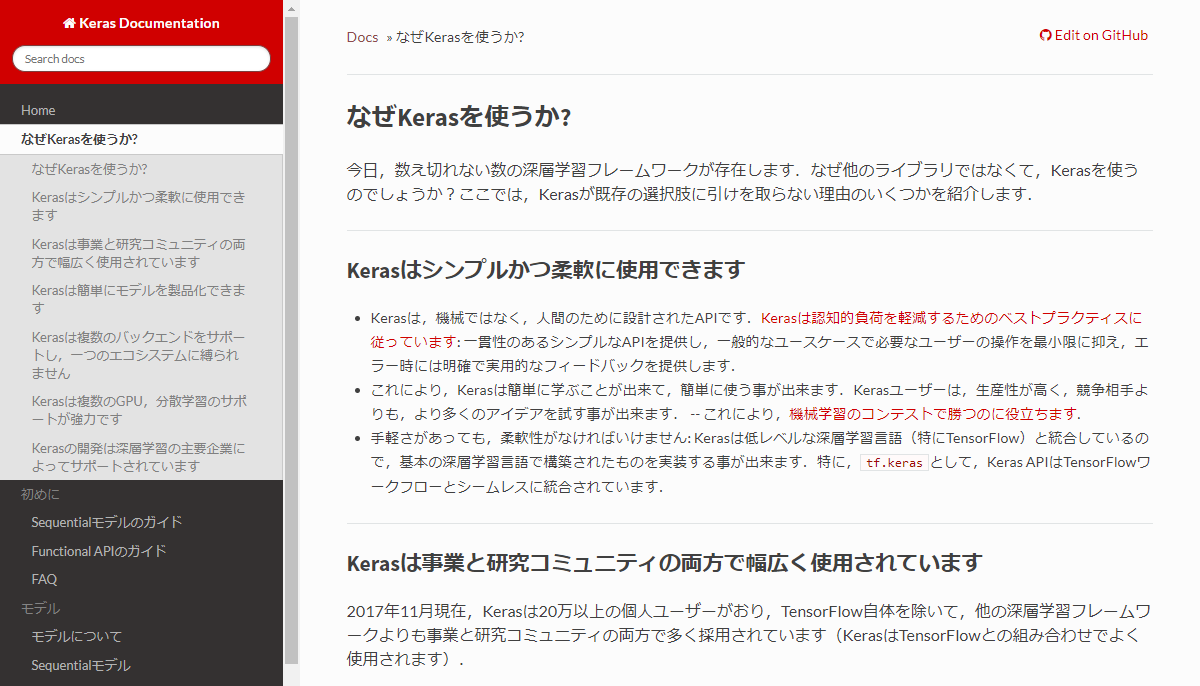
なぜKerasを使うのか?
Kerasの公式ドキュメントに「なぜKerasを使うか?」というページがありますので、Kerasがすごいところは、そちらをご覧いただいた方が良いでしょう。
Kerasは、バックエンドとしてCNTKやTheanoも利用できますが、この記事ではTensorFlowに注目していきます。
2つのKeras
実はKerasには、2つのバージョンがあります。
| バージョン | 説明 |
|---|---|
| TensorFlowから独立しているKeras | オリジナルのKeras。バックエンドにCNTKやTheanoを利用できる。別途Kerasのインストールが必要。import kerasで使える。 |
| TensorFlowと統合されているKeras | 人気が出たためTensorFlowに統合されたKeras。TensorFlowのバージョンによって、import tensorflow.contrib.keras、またはimport tensorflow.python.kerasで使える(今回説明しているのは後者)。 |
この記事では、タイトルにあるとおりTensorFlowと統合されているKerasを使ってみます。したがって、この記事に書かれているコードを試す範囲では、Kerasを別途インストールする必要はありません。
TensorFlowに統合されたKerasでMNISTに挑戦
まずは、インストールが必要なKerasのコードをご覧いただきます。
参考:https://github.com/keras-team/keras/blob/master/examples/mnist_cnn.py
'''Trains a simple convnet on the MNIST dataset.
Gets to 99.25% test accuracy after 12 epochs
(there is still a lot of margin for parameter tuning).
16 seconds per epoch on a GRID K520 GPU.
'''

from __future__ import print_function
import keras
from keras.datasets import mnist
from keras.models import Sequential
from keras.layers import Dense, Dropout, Flatten
from keras.layers import Conv2D, MaxPooling2D
from keras import backend as K

batch_size = 128
num_classes = 10
epochs = 12

# input image dimensions
img_rows, img_cols = 28, 28

# the data, split between train and test sets
(x_train, y_train), (x_test, y_test) = mnist.load_data()

if K.image_data_format() == 'channels_first':
    x_train = x_train.reshape(x_train.shape[0], 1, img_rows, img_cols)
    x_test = x_test.reshape(x_test.shape[0], 1, img_rows, img_cols)
    input_shape = (1, img_rows, img_cols)
else:
    x_train = x_train.reshape(x_train.shape[0], img_rows, img_cols, 1)
    x_test = x_test.reshape(x_test.shape[0], img_rows, img_cols, 1)
    input_shape = (img_rows, img_cols, 1)

x_train = x_train.astype('float32')
x_test = x_test.astype('float32')
x_train /= 255
x_test /= 255
print('x_train shape:', x_train.shape)
print(x_train.shape[0], 'train samples')
print(x_test.shape[0], 'test samples')

# convert class vectors to binary class matrices
y_train = keras.utils.to_categorical(y_train, num_classes)
y_test = keras.utils.to_categorical(y_test, num_classes)

model = Sequential()
model.add(Conv2D(32, kernel_size=(3, 3),
                 activation='relu',
                 input_shape=input_shape))
model.add(Conv2D(64, (3, 3), activation='relu'))
model.add(MaxPooling2D(pool_size=(2, 2)))
model.add(Dropout(0.25))
model.add(Flatten())
model.add(Dense(128, activation='relu'))
model.add(Dropout(0.5))
model.add(Dense(num_classes, activation='softmax'))

model.compile(loss=keras.losses.categorical_crossentropy,
              optimizer=keras.optimizers.Adadelta(),
              metrics=['accuracy'])

model.fit(x_train, y_train,
          batch_size=batch_size,
          epochs=epochs,
          verbose=1,
          validation_data=(x_test, y_test))
score = model.evaluate(x_test, y_test, verbose=0)
print('Test loss:', score[0])
print('Test accuracy:', score[1])
これを、TensorFlowに統合されたKerasを使うように変更するには、冒頭の部分を以下のように修正します。
'''Trains a simple convnet on the MNIST dataset.
Gets to 99.25% test accuracy after 12 epochs
(there is still a lot of margin for parameter tuning).
16 seconds per epoch on a GRID K520 GPU.
'''

from __future__ import print_function
from tensorflow.python import keras
from tensorflow.python.keras.datasets import mnist
from tensorflow.python.keras.models import Sequential
from tensorflow.python.keras.layers import Dense, Dropout, Flatten
from tensorflow.python.keras.layers import Conv2D, MaxPooling2D
from tensorflow.python.keras import backend as K
「batch_size = 128」以降は修正する必要がありませんので、説明はこれで終わりです。思ったより簡単に、2つのKerasを切り替えられることに驚きますね!
まとめ
今回は、Kerasには2つのバージョンがあることを説明し、互いに少しの手間で切り替えられることを説明しました。
TensorFlowに統合する前のKeras(TensorFlowから独立しているKeras)の情報はたくさんありますが、TensorFlowに統合されたKerasの情報は思いのほか少ないのが現在の状況です。
この記事をきっかけに、TensorFlowに統合されたKerasのユーザーが増え、関連記事が増えることを願います。それでは!